
For some people this time of year, canning seems to be a constant pastime, or maybe I should say passion—like when I was still peeling cucumbers at midnight after judging at the state fair. Who doesn’t enjoy seeing shelves of jars of home canned tomatoes, peaches or jellies? Or, hearing the pop of lids as they seal after coming out of the canner?
Maybe you’re a canning expert or simply a beginner, but something can always be learned. After a summer of judging many 4-Hers’ food preservation projects, I have some canning tips to pass on.
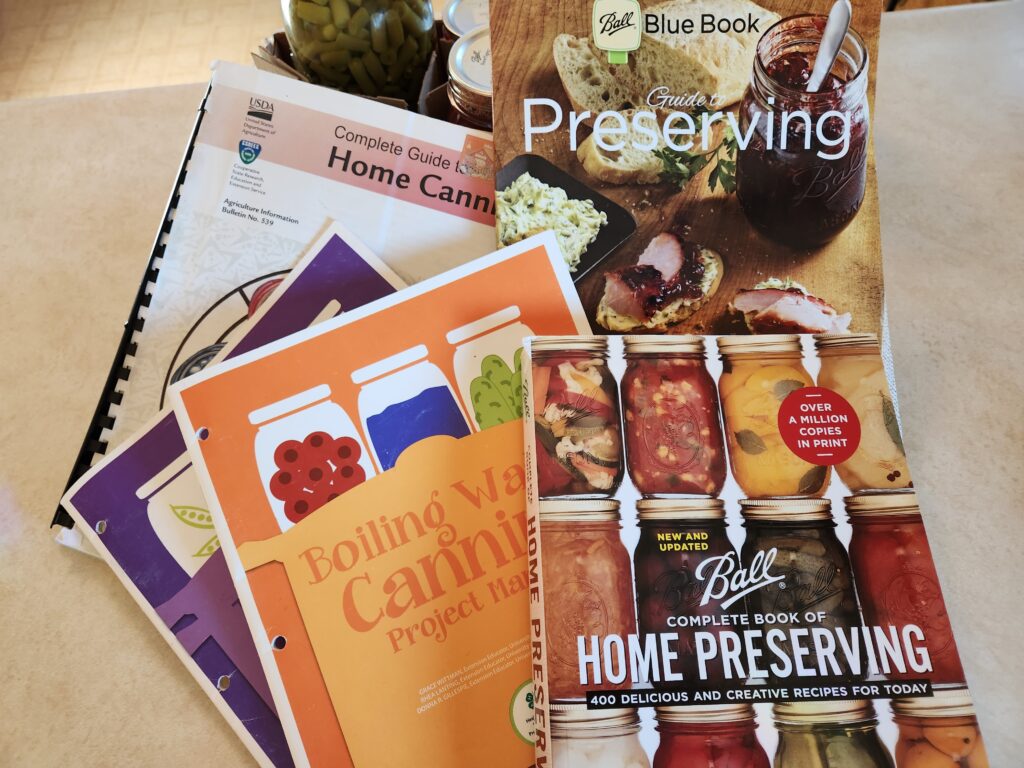
1. Use a tested USDA/extension/4-H recipe
2. Check head space
3. Adapt for altitude
First, always use a tested recipe. These include ones from the USDA, extension service or Ball Blue Book. Maybe you have a family favorite. Check these tested sources to find one that’s close and includes canning/processing instructions. You may even find new ones your family enjoys.
A few tips have changed over the years. For example, tomatoes need to be acidified since so many varieties today are considered low-acid tomatoes. To do this, add 2 tablespoon. of lemon juice to each quart or 1 tablespoon. of lemon juice to each pint of tomatoes. Also, be sure that any vinegar you can with contains 5% acidity, as the recipes were designed with 5% in mind. Some vinegar on the shelves this summer is only 4%. The vinegar is clearly labeled. Ask your local grocer if they can order 5% if it’s not on the shelf.
Head space is the blank space between the product and the lid. This allows for the expansion of the food while it’s being canned. You only need 1/4″ for jams, jellies, preserves, pickles, relishes and juices. You need 1/2″ for fruits, tomatoes and high-acid foods. You need 1″ for meats and vegetables, and other low-acid foods that will be pressure cooked. If you’re pressure cooking and have a gauge, be sure to have it tested each year. Check with your extension office or local hardware store to see where this can be done.


Be sure to adapt for altitude. Canning recipes are designed for sea level. The state of Nebraska really varies in altitude. See the chart below for your altitude or use one of the phone apps that gives your exact altitude for your location. Then, make the necessary adjustments. For example, since my altitude is between 2,000 and 3,000 feet, I add five minutes to the time for a boiling water bath, and two pounds to the pressure on the gauge of my pressure cooker.

Boiling Water Bath Canner Chart
| Altitude (in feet) | Increase processing time by: |
| 1001-3000 | + 5 minutes |
| 3001-6000 | +10 minutes |
Pressure Canner Chart
| Altitude (in feet) | Pressure Adjustments for Dial Gauge | Pressure Adjustments for Weighted Gauge |
| 0-1000 | 10 lb. | 10 lb. |
| 1001-2000 | 11 lb. | 15 lb. |
| 2001-4000 | 12 lb. | 15 lb. |
| 4001-6000 | 13 lb. | 15 lb. |
Hopefully, these tips will allow you to be more confident that you’re canning safely for your family and friends. When I started to explain head space to one 4-Her she stopped me and said, “I know. Jelly needs 1/4″.” When I asked how she knew that, she said, “you taught me last year!” Ah, a teacher’s delight! Happy canning!
For trusted canning advice, contact your local extension office, or use trusted materials developed by the USDA, Extension, or Ball.
Source: USDA Complete Guide to Home Canning